PLC VM
Installing Virtual Box
Navigate to the L:\PLC\CT VM Images and download the VM Image
Navigate to the Virtual Box Downloads page and download the package which is suitable for you host. Install the package, refer to Virtual Box's How-to guide if you come across any errors during installlation.
PLC VM Setup
- Contact your Team Lead for the default login credentials of the VM.
- Image is Windows 11, because 10 is EOL in 2025.
- Idea is to keep the “Golden Image” as clean as possible, and only install PLC IDEs (and Copia if we use it, but that could even be done on the base machine.)
- Saves should be saved to the HOST machine, not the VM.
- Updates are configured to run “less” often, as this is not really meant to be a super up to date VM.
VM Configuration
- Default config is 4 cores, 16GB ram and 100GB HDD.
- VM is created in VirtualBox, but could potentially be run in another “hypervisor” (other than HyperV.)
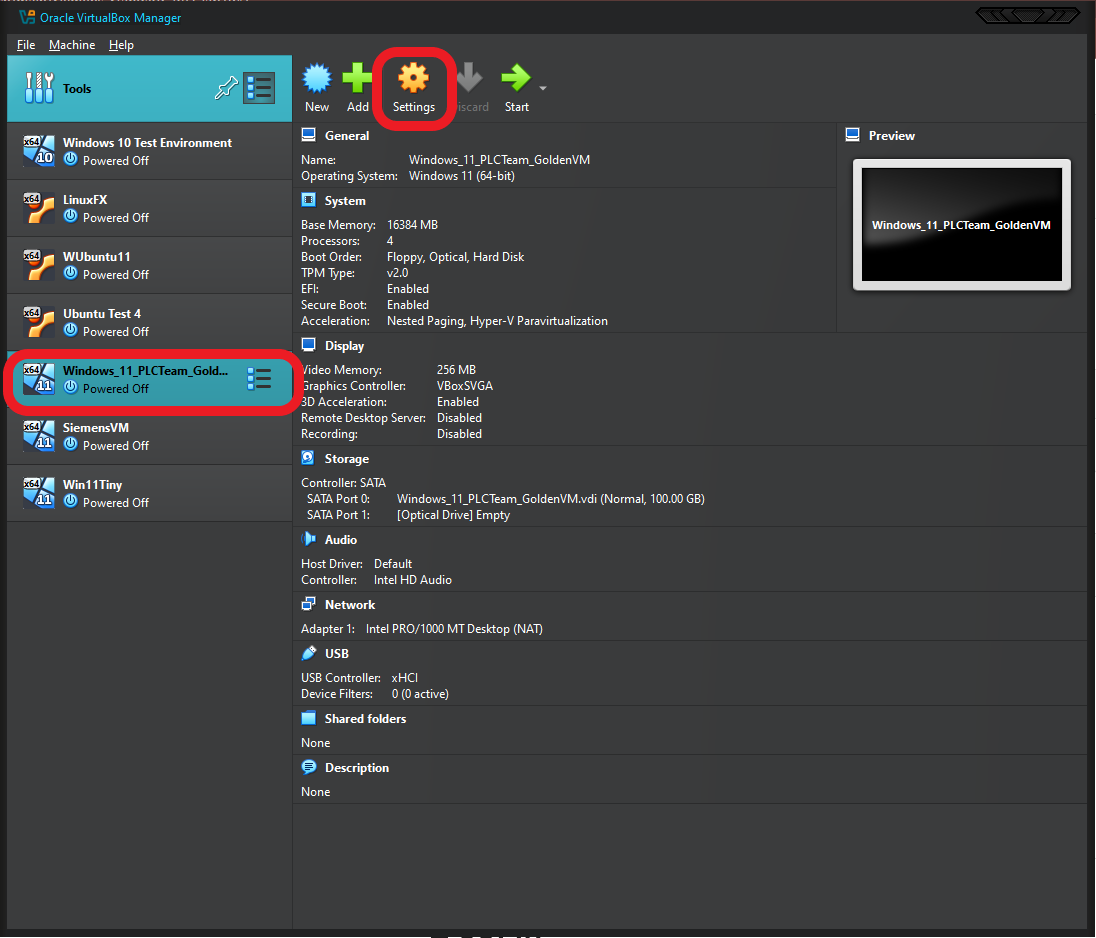
- To change VM settings, click on the VM, and you can either Right Click on it, or click on the settings button at the top when it opens the “snapshot” of the VM.
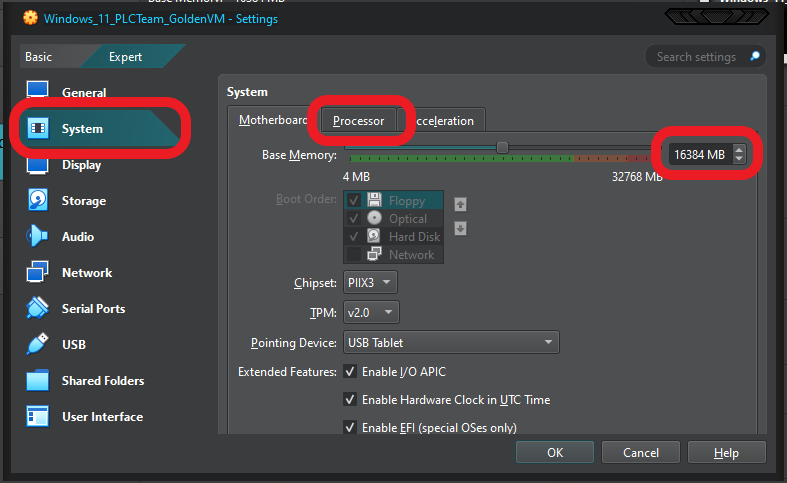
- These settings are in the SYSTEM tab on the left of the popup menu.
These settings are in the SYSTEM tab on the left of the popup menu. i.e.
- They can NOT be changed live.
- CPU and RAM are the only things you should need to “adapt” to your laptop. I try not to go over 50% of my hardware to the VM, or the Host OS gets “buggy”.
- You should have at least 16 threads, so you can 100% increase the core count (Task manager will tell you cores and threads).
- Network settings are another thing you will probably need to play with, but that is going to be a case by case, so I can only guide.
- NAT means it should “just work” (In theory)
- Bridge means it actually connects as a DIFFERENT device. IE it’s own IP. This can have advantages, but also disadvantages.
- USB should be enabled as USB3.x by “default”, but USB devices don’t always make the jump.
- Share Folders are folders that you configure the VM to be able to see on the “host”.
- You SHOULD set one up to automount/make permanent to a folder on your C drive for the “local” project cache.
- You CAN make a link to a network drive, but, remember, they may not work in the field.
- The folder Name is what it shows as in the VM.
- The mountpoint is how it should be seen in the VM.
- The graphics will be a bit laggy, but that’s kind of an issue with having Windows as the host OS. You can try a couple of the other driver options in Display, but they tend to not work.
In Documents, there is a file called “CLEANMGR_SFC_DISM.ps1”, this should be run periodically to help maintain the freespace in the VM, and the stability. It should only take a couple minutes, and can be run in the background. You should periodically (especially after VirtualBox updates) check in the “devices” menu of the RUNNING VM if there is an update for the Guest Additions. This covers things like drivers for the virtual GPU, and can massively improve performance.
Revision History
| Revision | Date | Name | Description |
|---|---|---|---|
| 1.0.0 | 10/18/2024 | Kevin Berger | Initial Implementation |